How to Draw a Family Tree on Microsoft Powerpoint
Creating a family tree in MS PowerPoint has many advantages. A family tree graphically demonstrates the relationships between family members. You can also add photos to individual names and be as creative as you want.
2 Methods to create a family tree using Microsoft PowerPoint:
- Use Shapes
- Use SmartArt
We will show you both methods in simple, step-by-step instructions.
Let us begin.
Method #1: Use Shapes
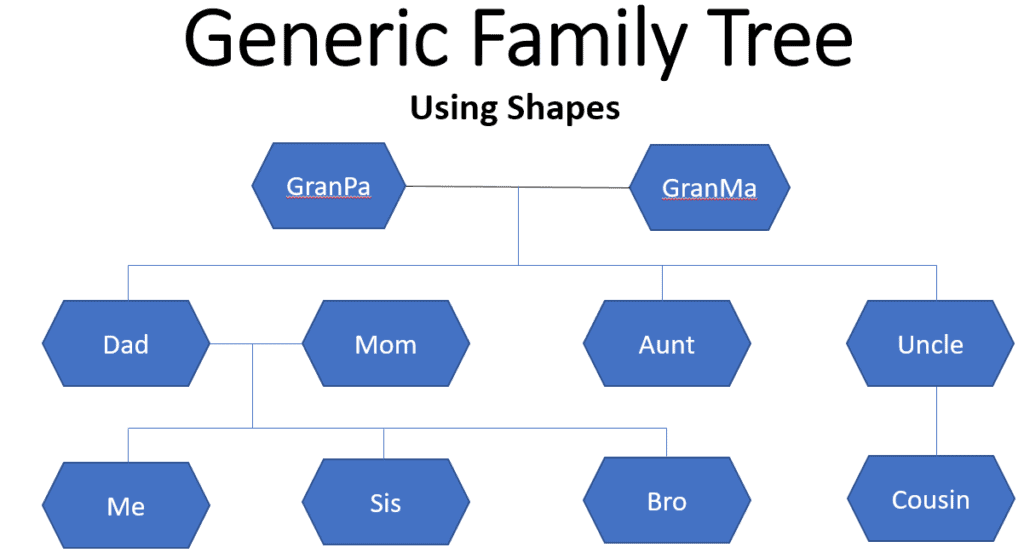
This method uses simple shapes like ovals, rectangles, and lines, to create the family tree.
Step #1: Open a Presentation
Open a new presentation or an existing one.
Navigate to the slide where you want to introduce the family tree.

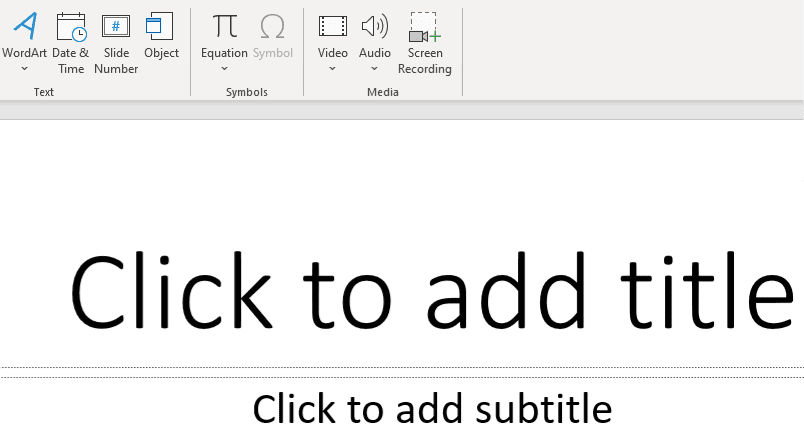
Step #2: Set up Title and Subtitle
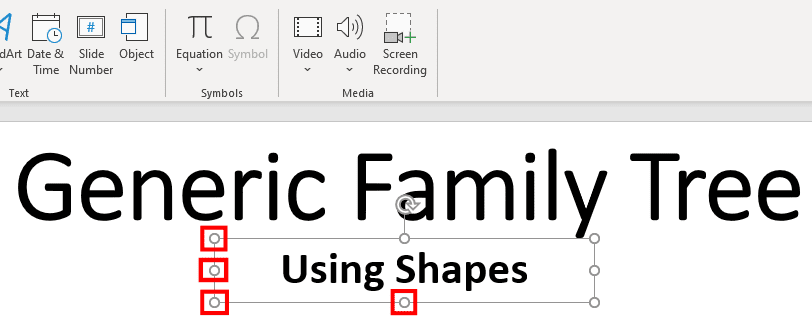
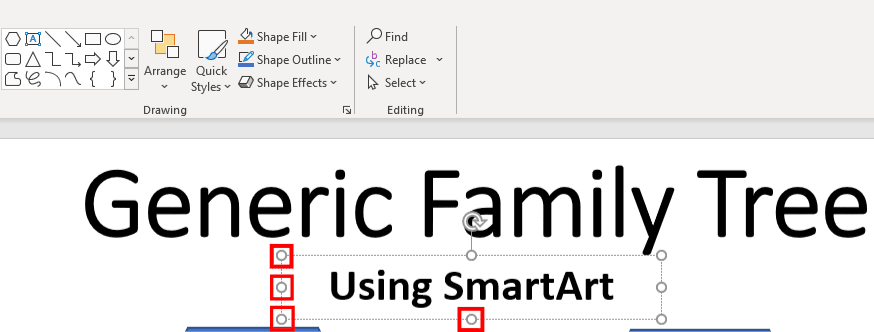
Click on Click to add title and enter the title for the family tree.
Click on Click to add subtitle and enter a subtitle if necessary.
Position the title and subtitle using their individual handles, which are located on the edge of the text boxes, and indicated in red in our illustration.
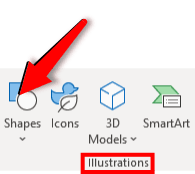
Step #3: Insert Shapes
Click on the Insert tab in the top menu bar to change the ribbon.

In the section Illustrations, click on the Shapes icon.

This opens the Shapes menu.
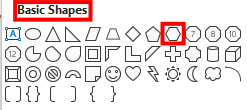
Select a suitable shape from Basic Shapes.
Note: We have chosen the Hexagon shape for this example. You may choose any shape.
Step #4: Format the Shape
Click on the shape you have chosen.
The window will close, and your cursor will change to a cross.
Position the cursor at an empty place on the slide.
Click and drag the cursor to form a hexagon shape.

Use the handles to change the position and size of the shape.
Step #5: Enter Text in the Shape
Click on the shape you want to edit.
Right-click on an empty space inside the shape to open a menu.
Click on the Edit Text icon.
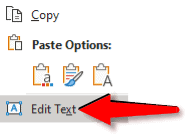
A cursor appears inside the shape.
Enter your required text.
Note: You may have to change the shape's size to fit your text.

Step #6: Add More Shapes
Click on a shape.
Right-click on an empty space inside the shape to open a menu.
Click on the Copy icon.
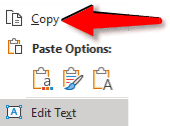
Right-click in an empty space outside the shape in your document, to open a menu.
Under Paste Options, click on the Keep Source Formatting(K) icon.

A copy of the shape will appear.
Use the handles to change the position of the new shape.
Note: You can also use CTRL+C and CTRL+V to copy and paste the shape.
Step #7: Add More Shapes
Repeat Step #6 to add as many shapes as you want.

Step #8: Change the Text inside the Shapes
Click on the shape you want to edit.
Right-click on an empty space inside the shape to open a menu.
Click on Edit Text.

Change the text to your requirement.

Repeat for all the shapes.

Note: You can also click on the shape and select the text inside to edit it.
Step #9: Add Lines
Click on the Insert tab in the top menu bar to change the ribbon.

In the section Illustrations, click on the Shapes icon.
This opens the Shapes menu.
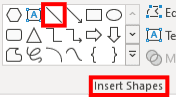
Select a suitable line from Lines.
Note: We have chosen the simple 'Line' option from the menu. You can choose any other.

The cursor changes to a cross.
Position the cursor where you want the line to start.
Click and drag the cursor to form a line.
At the same time, the ribbon changes to Shape Format.
Select Line from section Insert Shapes.
Draw lines to annotate your family tree.
Note: Keeping the Shift key pressed when drawing lines allows you to draw horizontal, vertical, and 45-degree lines. Use Ctrl+C and Ctrl+V to copy and draw lines.
Use handles to resize the lines.

Add more lines to complete the family tree.
Method #2: Use SmartArt
This method uses built-in graphics to draw a family tree template.
Step #1: Open a Presentation
Open a new presentation or an existing one.
Navigate to the slide where you want to introduce the family tree.
Step #2: Set up a Title/Subtitle for the Family Tree
Click on Click to add title and enter the title for the family tree.
Click on Click to add subtitle and enter a subtitle if necessary.
Position the title and subtitle using their individual handles, which are located on the edge of the text boxes, and indicated in red in our illustration.
Step #3: Insert a SmartArt Graphic
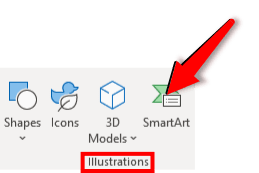
Click on the Insert tab in the top menu bar to change the ribbon.

In the section Illustrations, click on the SmartArt icon.
This opens the SmartArt dialog box.
In the left pane, select the Hierarchy option.
The middle pane shows many graphics for hierarchical relationships, like family trees.
Select the one most suitable to your requirement.
For our example, we have selected the first graphic. You can select any other.
The right pane shows an image of the graphic and its explanation.
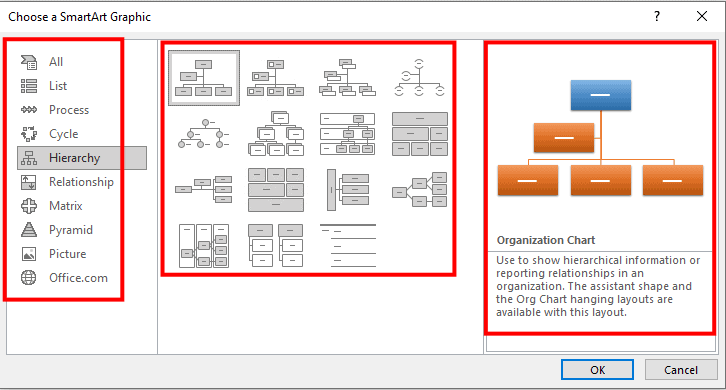
Click on the OK button at the bottom.
The dialog box closes, and the graphic appears in the document.
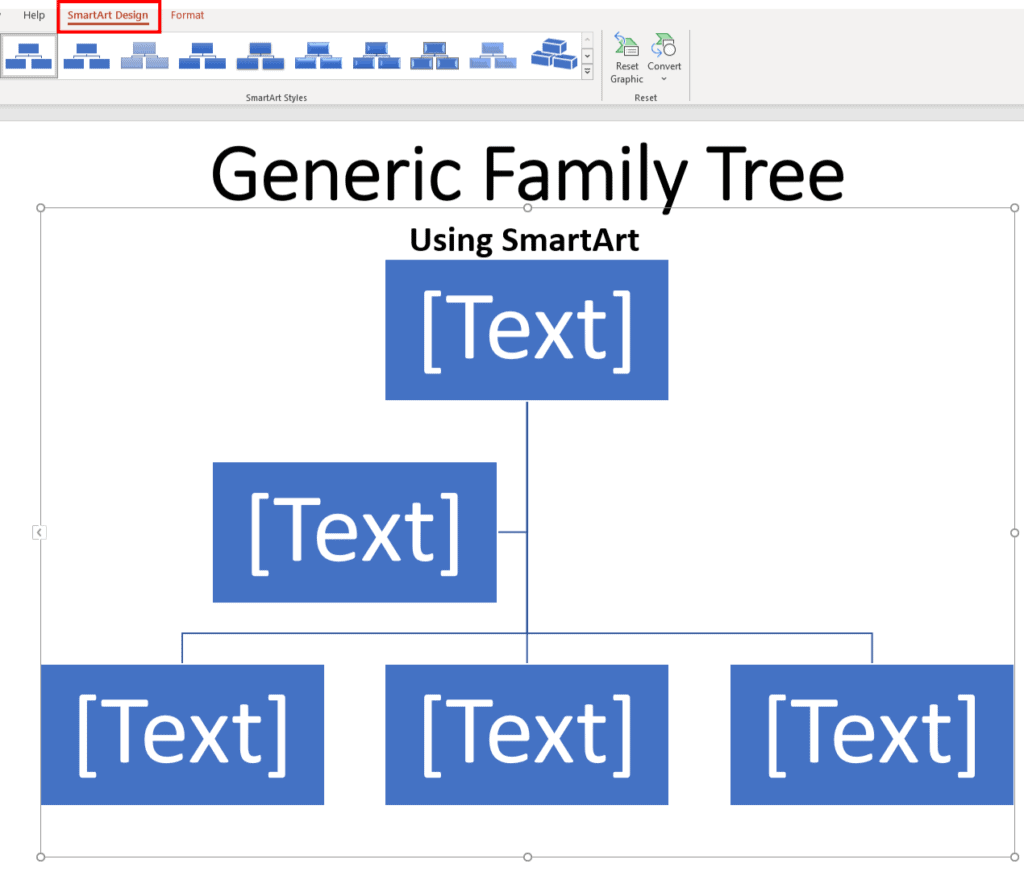
The ribbon at the top changes to SmartArt Design.
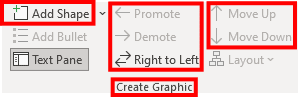
Step #5: Add More Shapes
In the ribbon, use the Add Shape, Promote, Demote, Right to Left, Move Up, and Move Down icons in the Create Graphic section to add and position more shapes.
- Add Shape: Adds a new shape below the selected shape.
- Promote: Promotes the selected shape to an upper level.
- Demote: Demotes the selected shape to a lower level.
- Right to Left: Transposes the graphic. You can toggle the transposition.
- Move Up: Moves the selected shape to the left of its adjacent shape.
- Move Down: Moves the selected shape to the right of its adjacent shape.
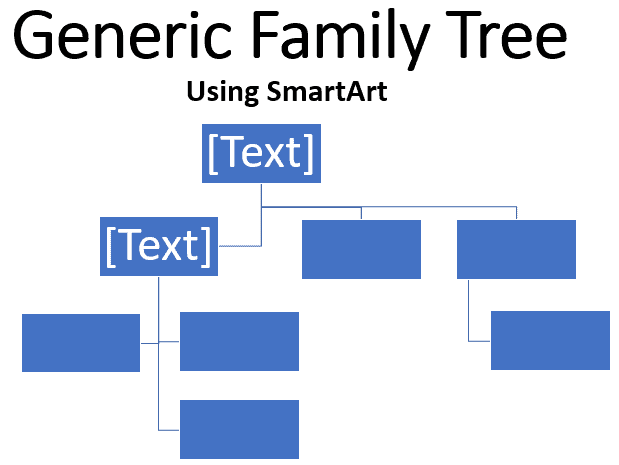
The family tree now looks like this.
Step #5: Edit the Text in the Graphic
Click on the family tree graphic.
Click on the left arrow, situated on the border of the graphic, to open the Type your text here dialog box on the left.
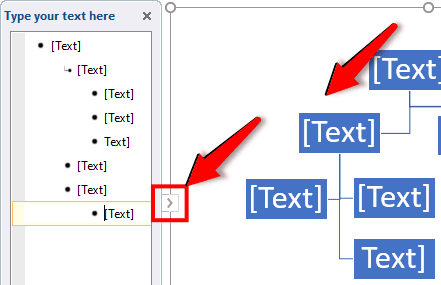
Replace all the [Text] in the dialog box with your own text.

Repeat for all shapes in the graphic.
Note: You can also click inside a shape to select and edit the text.
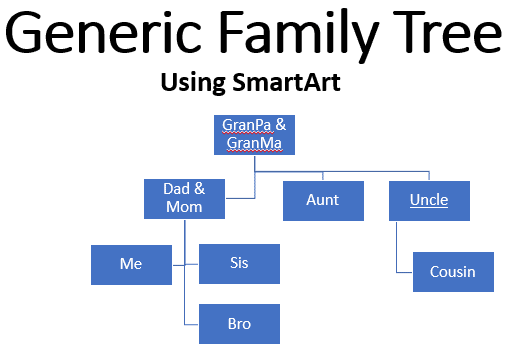
Step #6: Close the Text Editing Box
Click on the X on top of the Type your text here dialog box to close it.
The family tree now looks like this:
Conclusion
Creating a family tree in PowerPoint is fun and easy to do. You can either build your own from scratch, using shapes you prefer, or do it quicker by making use of SmartArt. Use the method that you find most suitable.
Source: https://officebeginner.com/powerpoint/how-to-create-a-family-tree-in-ms-powerpoint/